3D Printing & Digital Fabrication
A three-part ENGR11A project exploring multi-color printing, calibration, and open-source assistive tech using a Prusa MINI+ and PrusaSlicer.
3D Printing & Digital Fabrication — ENGR11A- Project 1
This project helped me go beyond “just printing a file” and actually understand the full workflow: editing models, slicing with purpose, handling real printer events, and judging results based on quality, accuracy, and usability.
Print 1 — Customized Nametag (Process & Analysis)
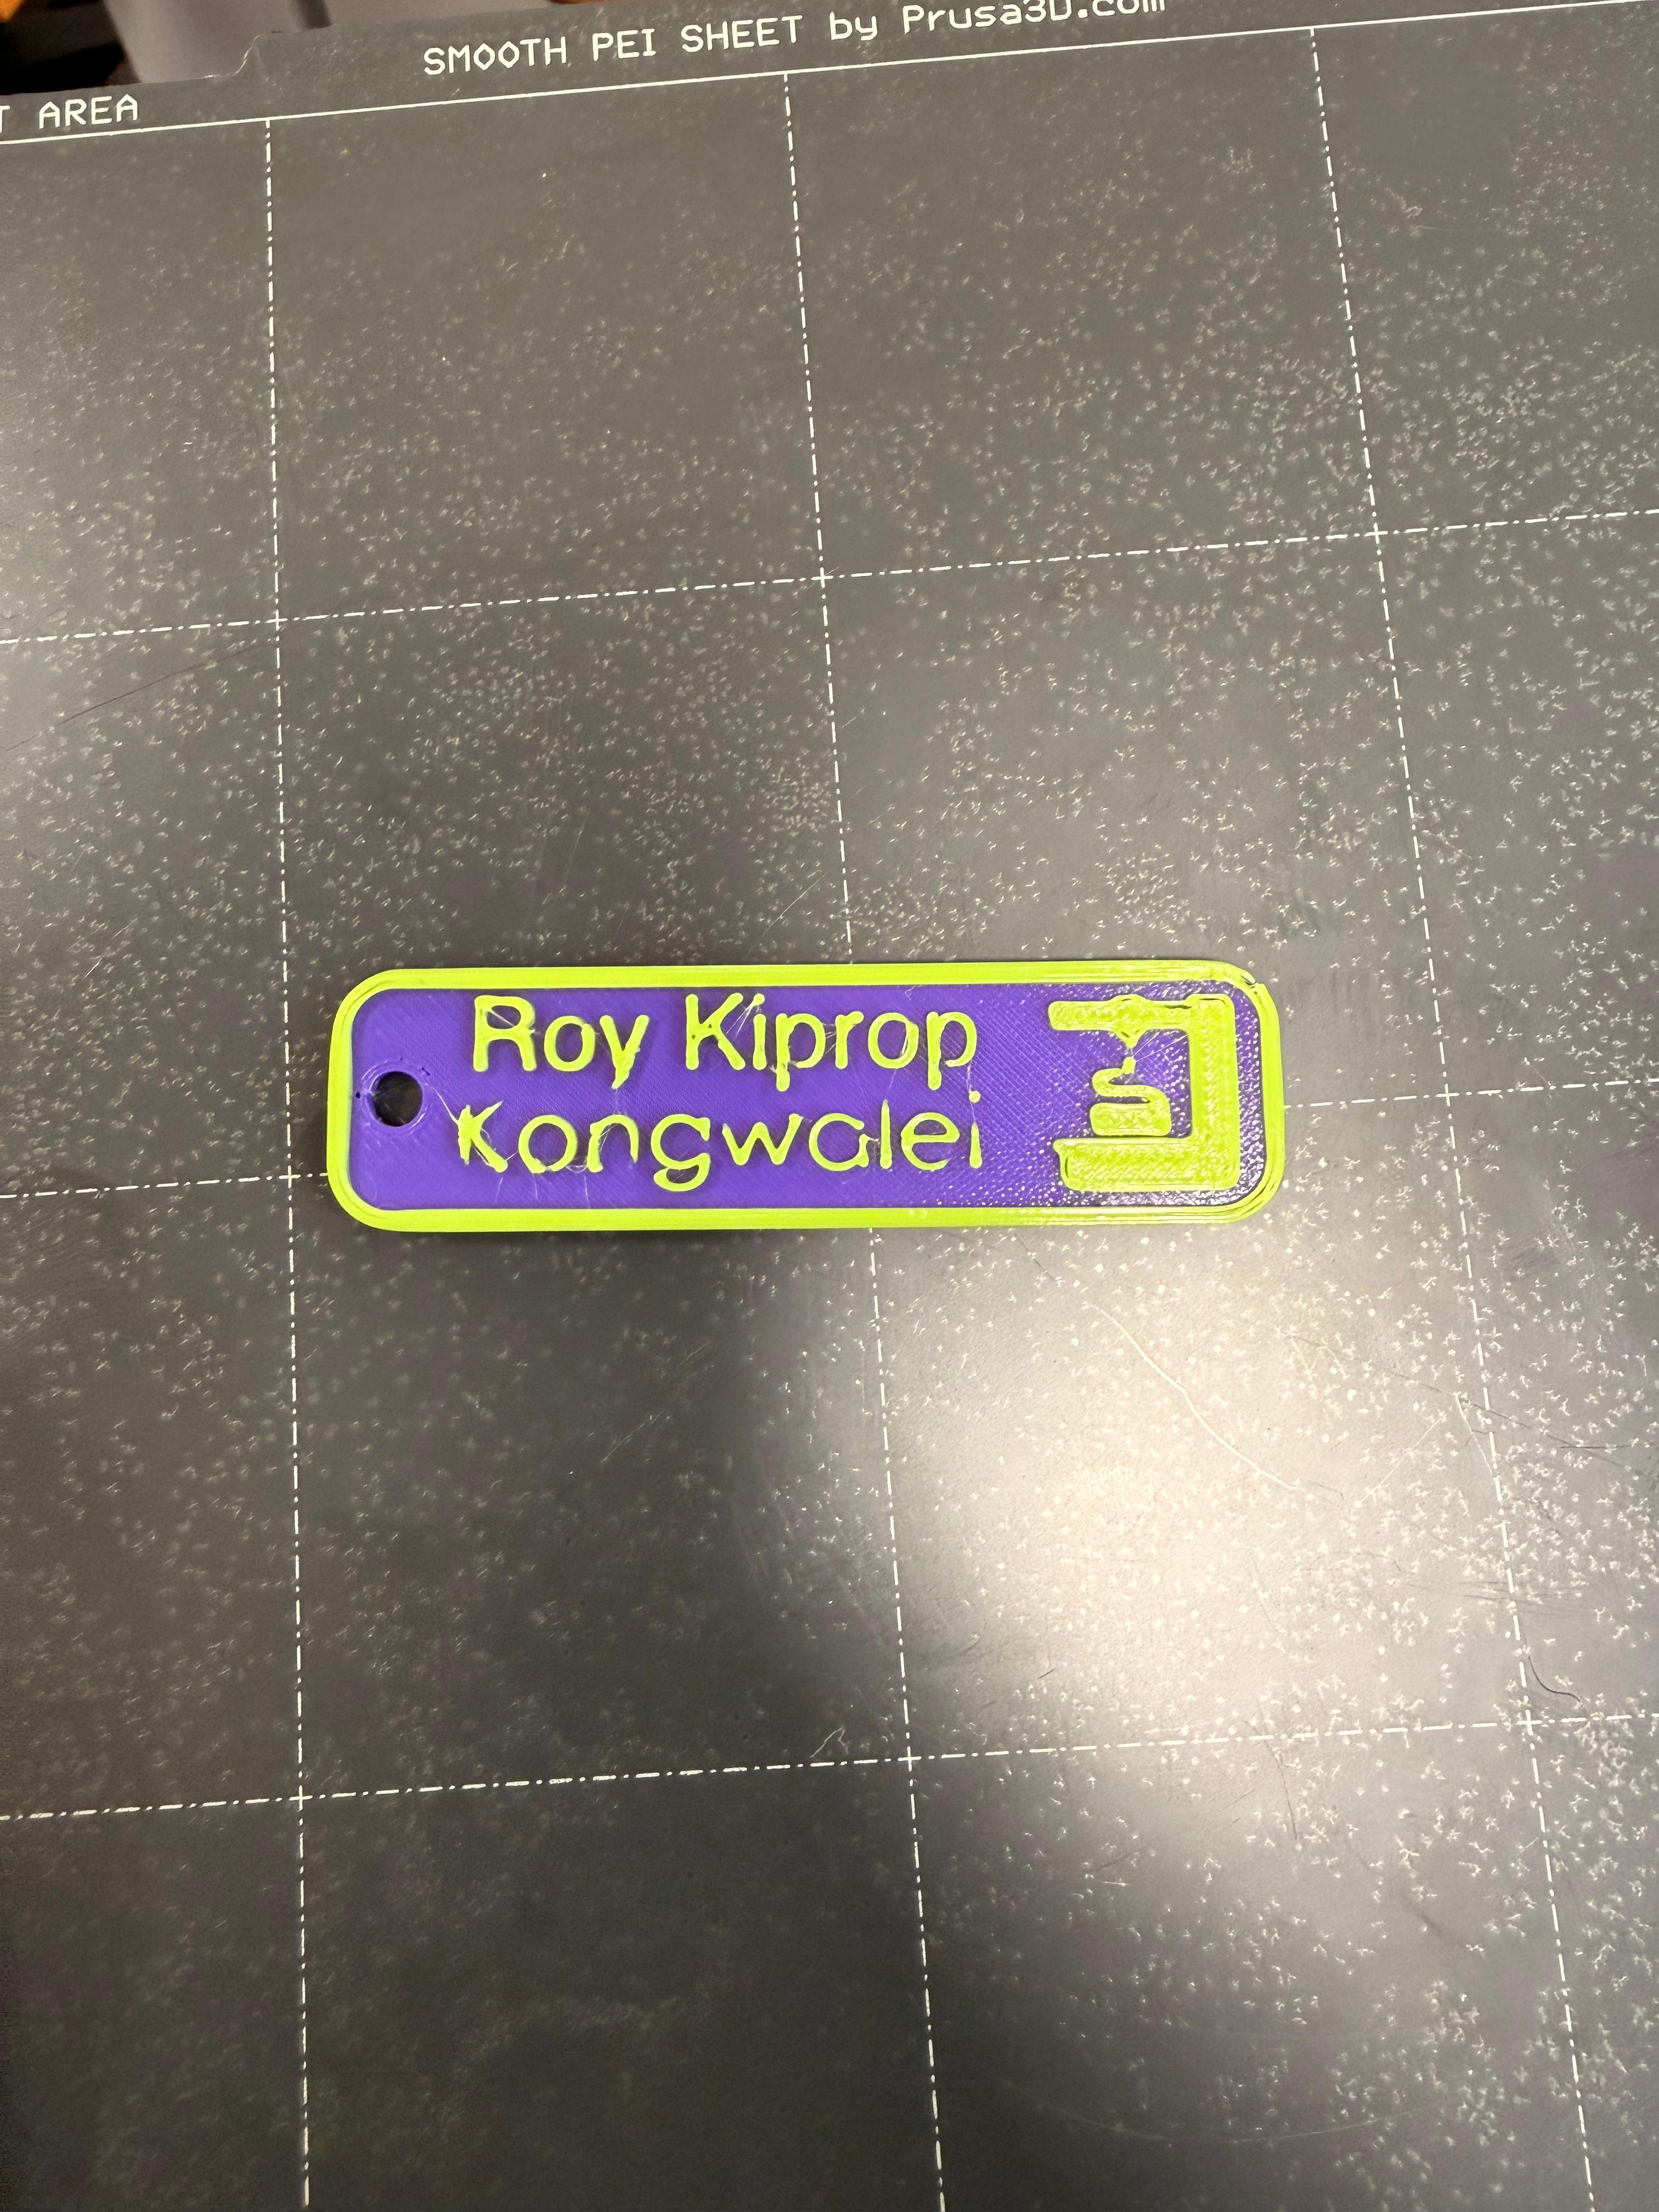
For my first print, I designed a personalized nametag in PrusaSlicer using an Original Prusa MINI+ with a 0.4 mm nozzle and Input Shaper enabled. I started from a provided 3MF file, edited the text to “Roy Kiprop Kongwalei”, and adjusted the font and scale while keeping the original multi-color design.
Before printing, I used Preview mode and the layer slider to confirm the filament change pause was still built into the file. That’s one huge advantage of 3MF: it can save slicing details (like pauses and settings), not just shape. I sliced using the 0.20 mm SPEED profile with Generic PLA and 15% infill, with an estimated print time of about 13 minutes.
During the print, the printer paused and chirped at the correct layer. I unloaded the first filament, loaded the new color, purged until extrusion looked clean, and resumed. The result printed with clear text, strong contrast, and solid first-layer adhesion on the smooth sheet.
Print 2 — Calibration / Torture Test (Analysis)
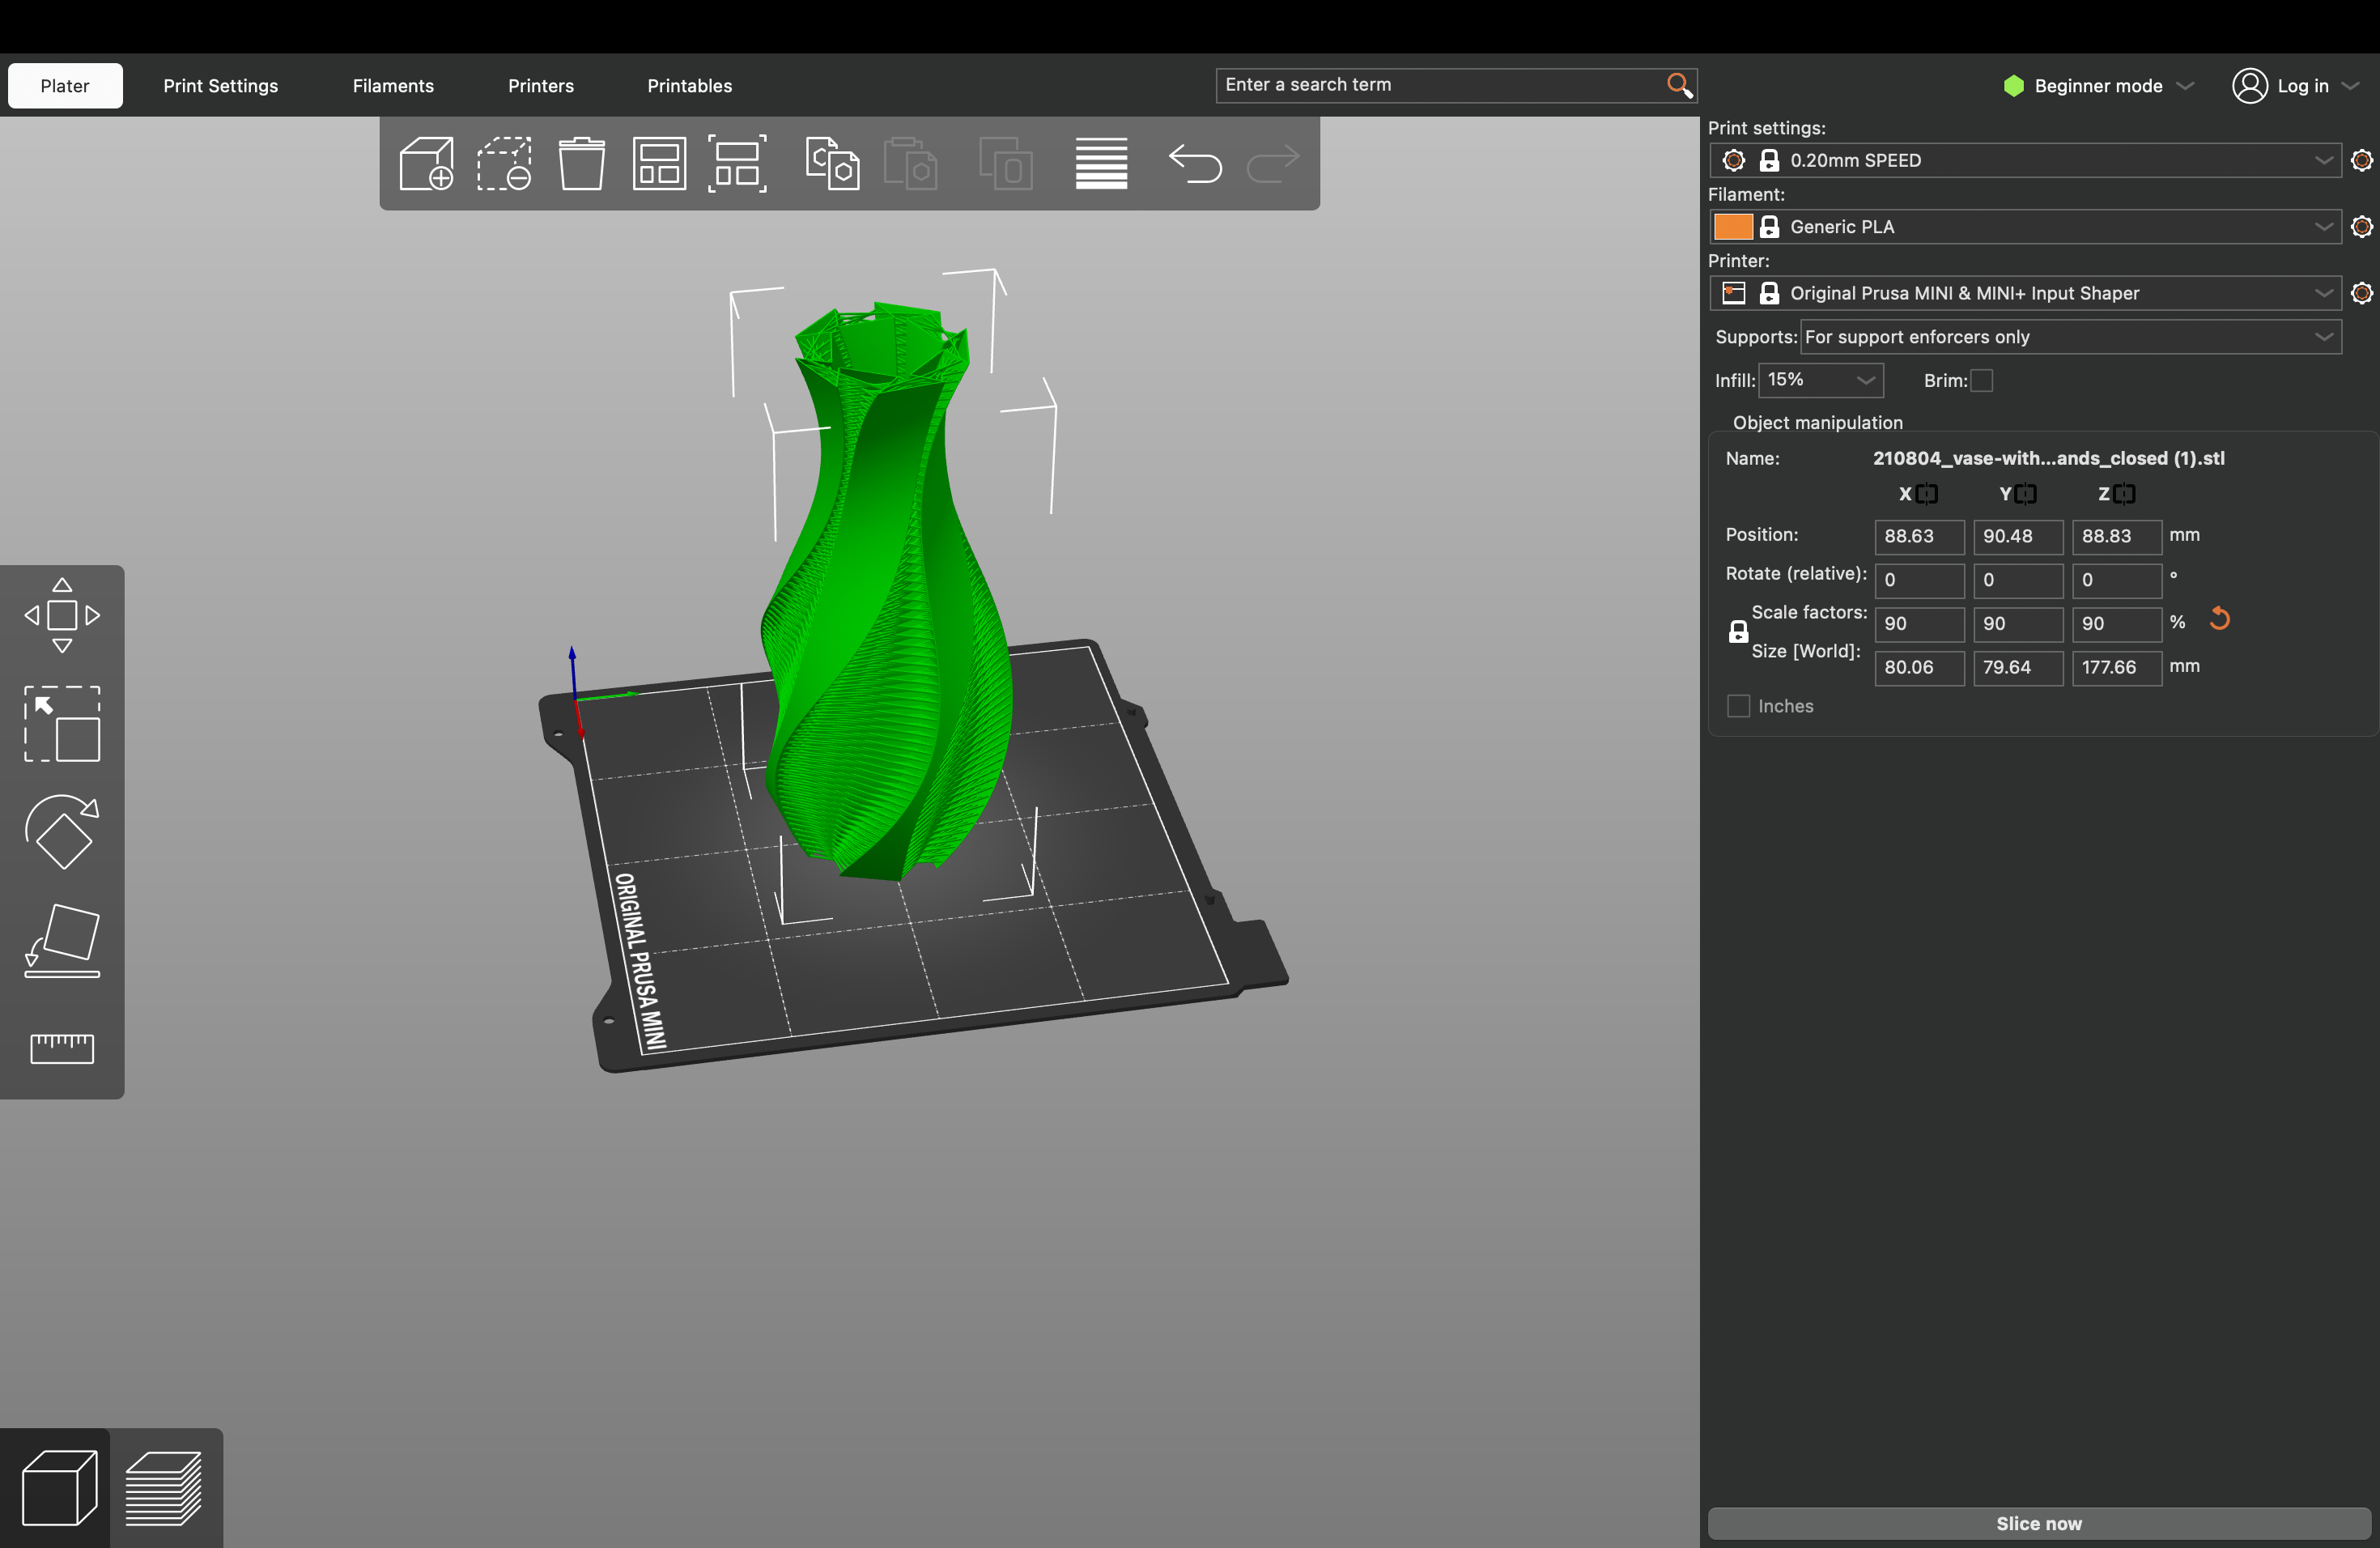
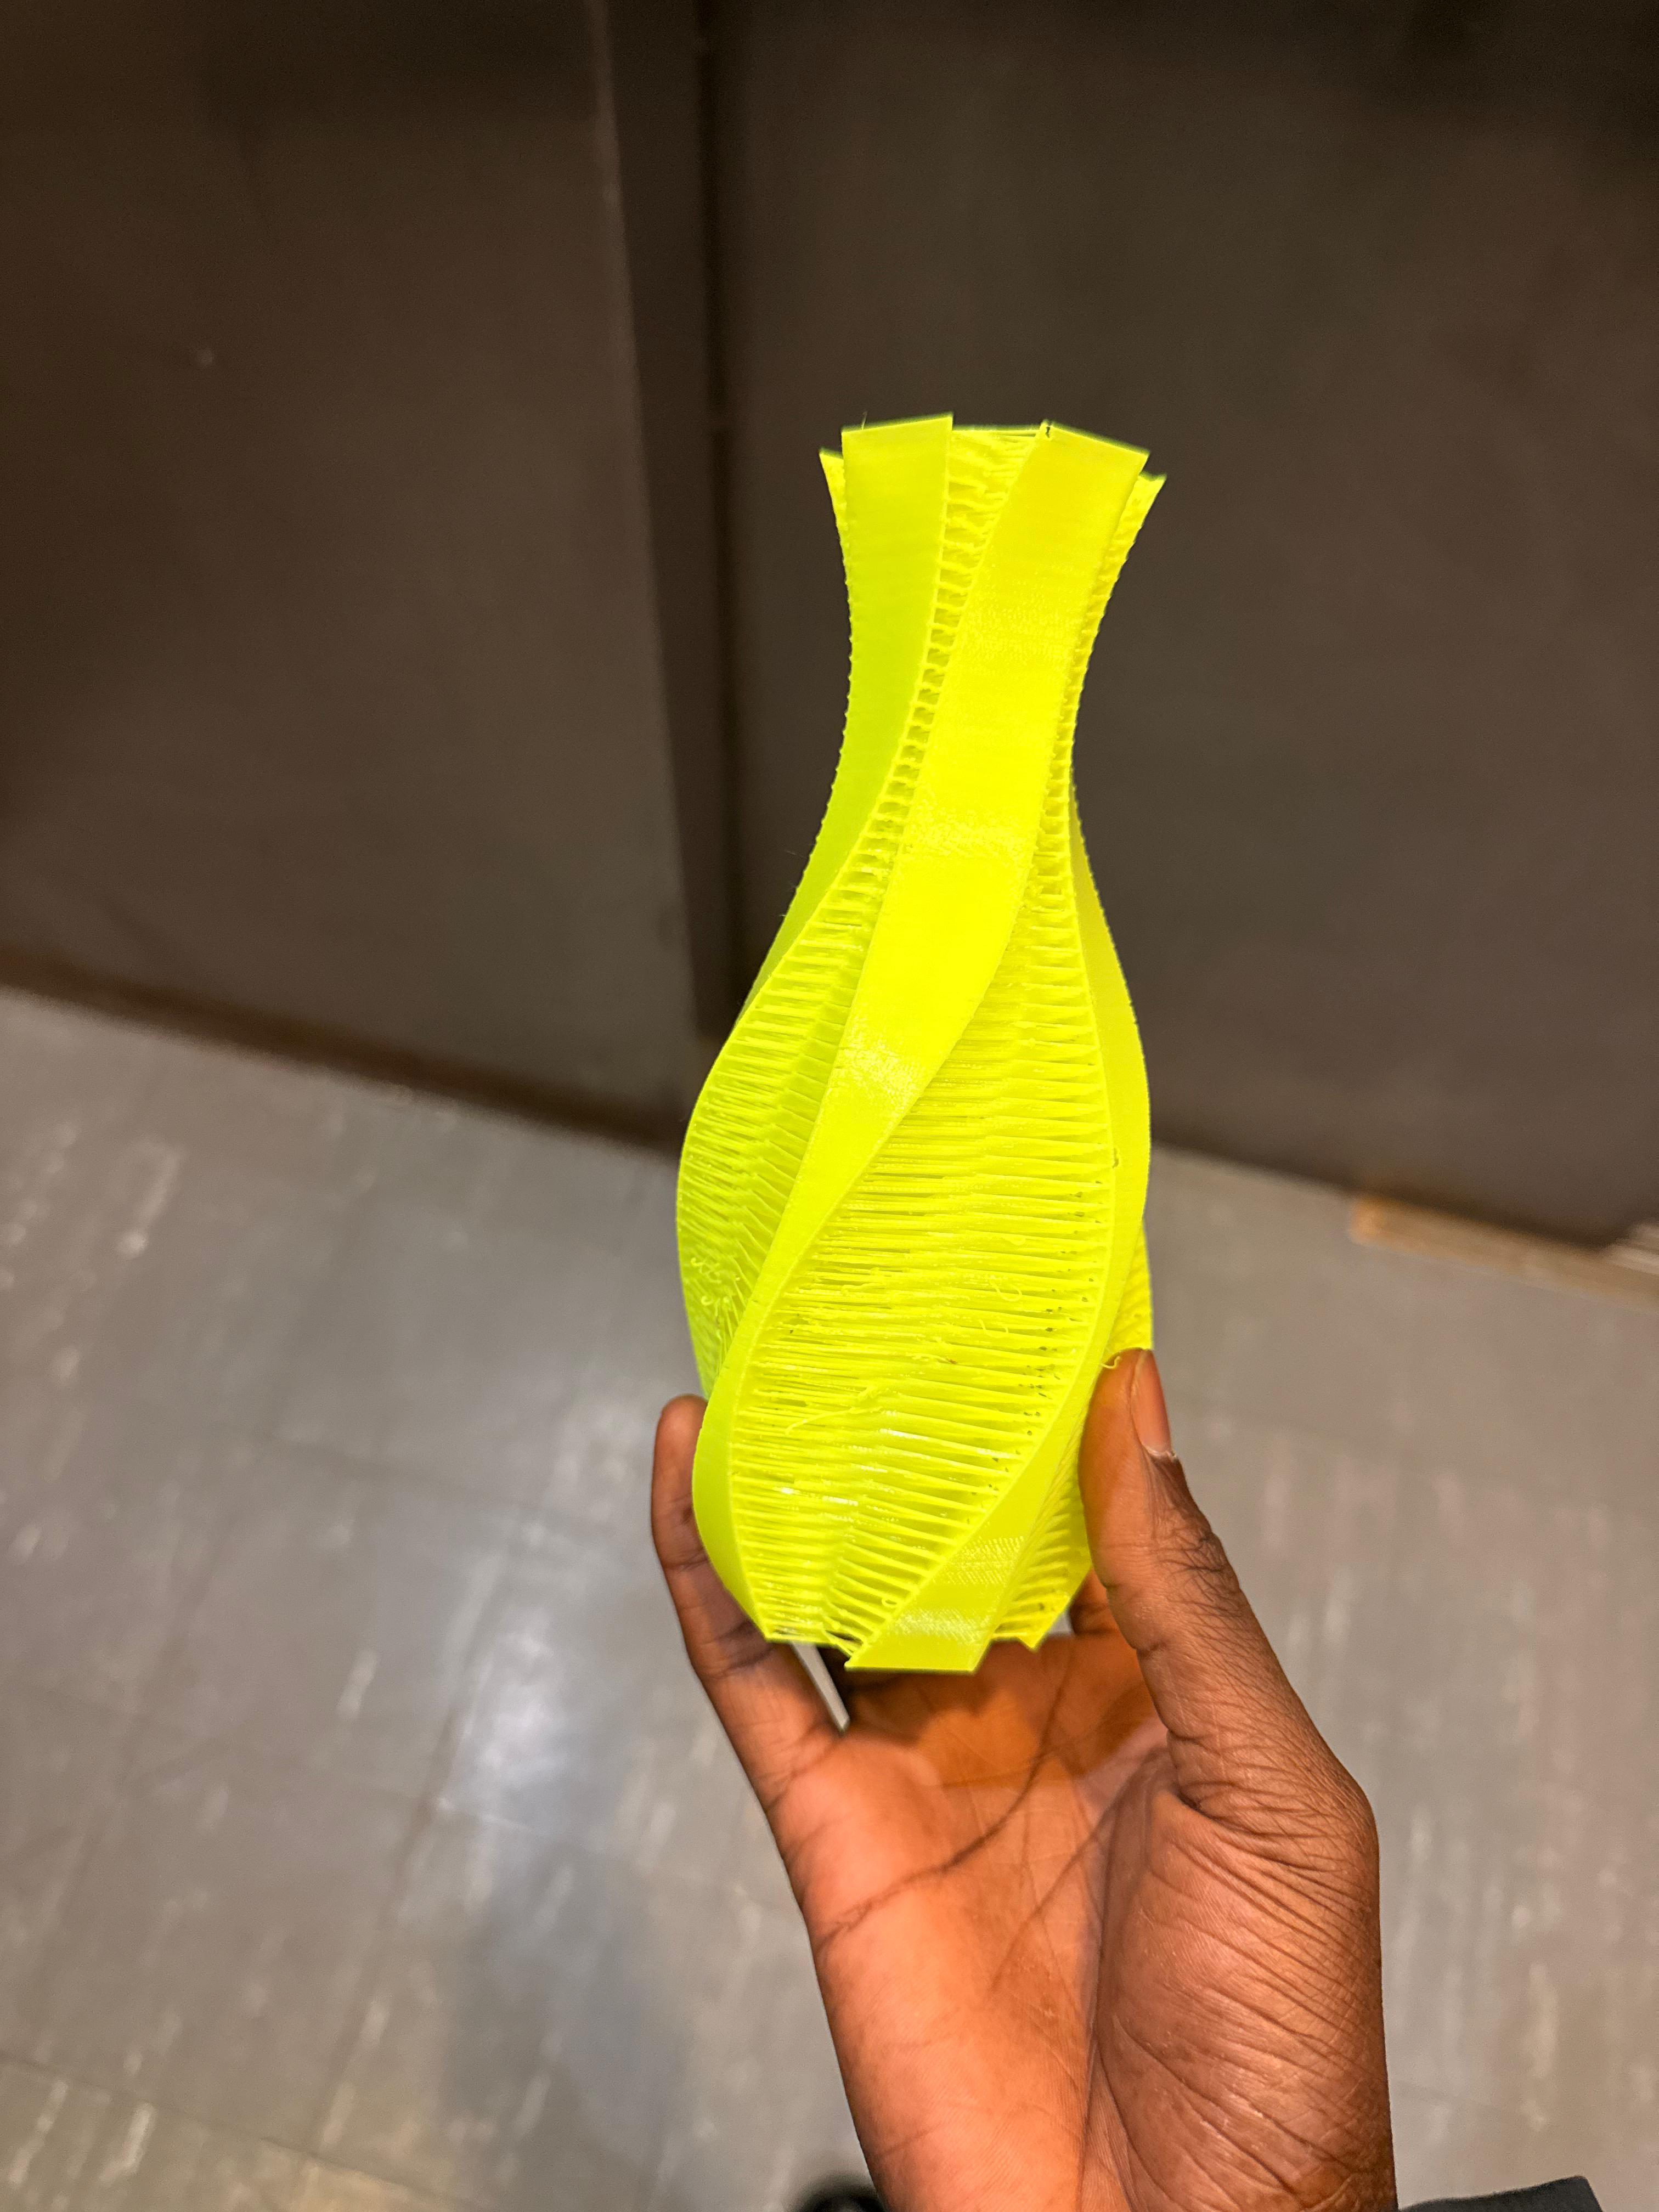
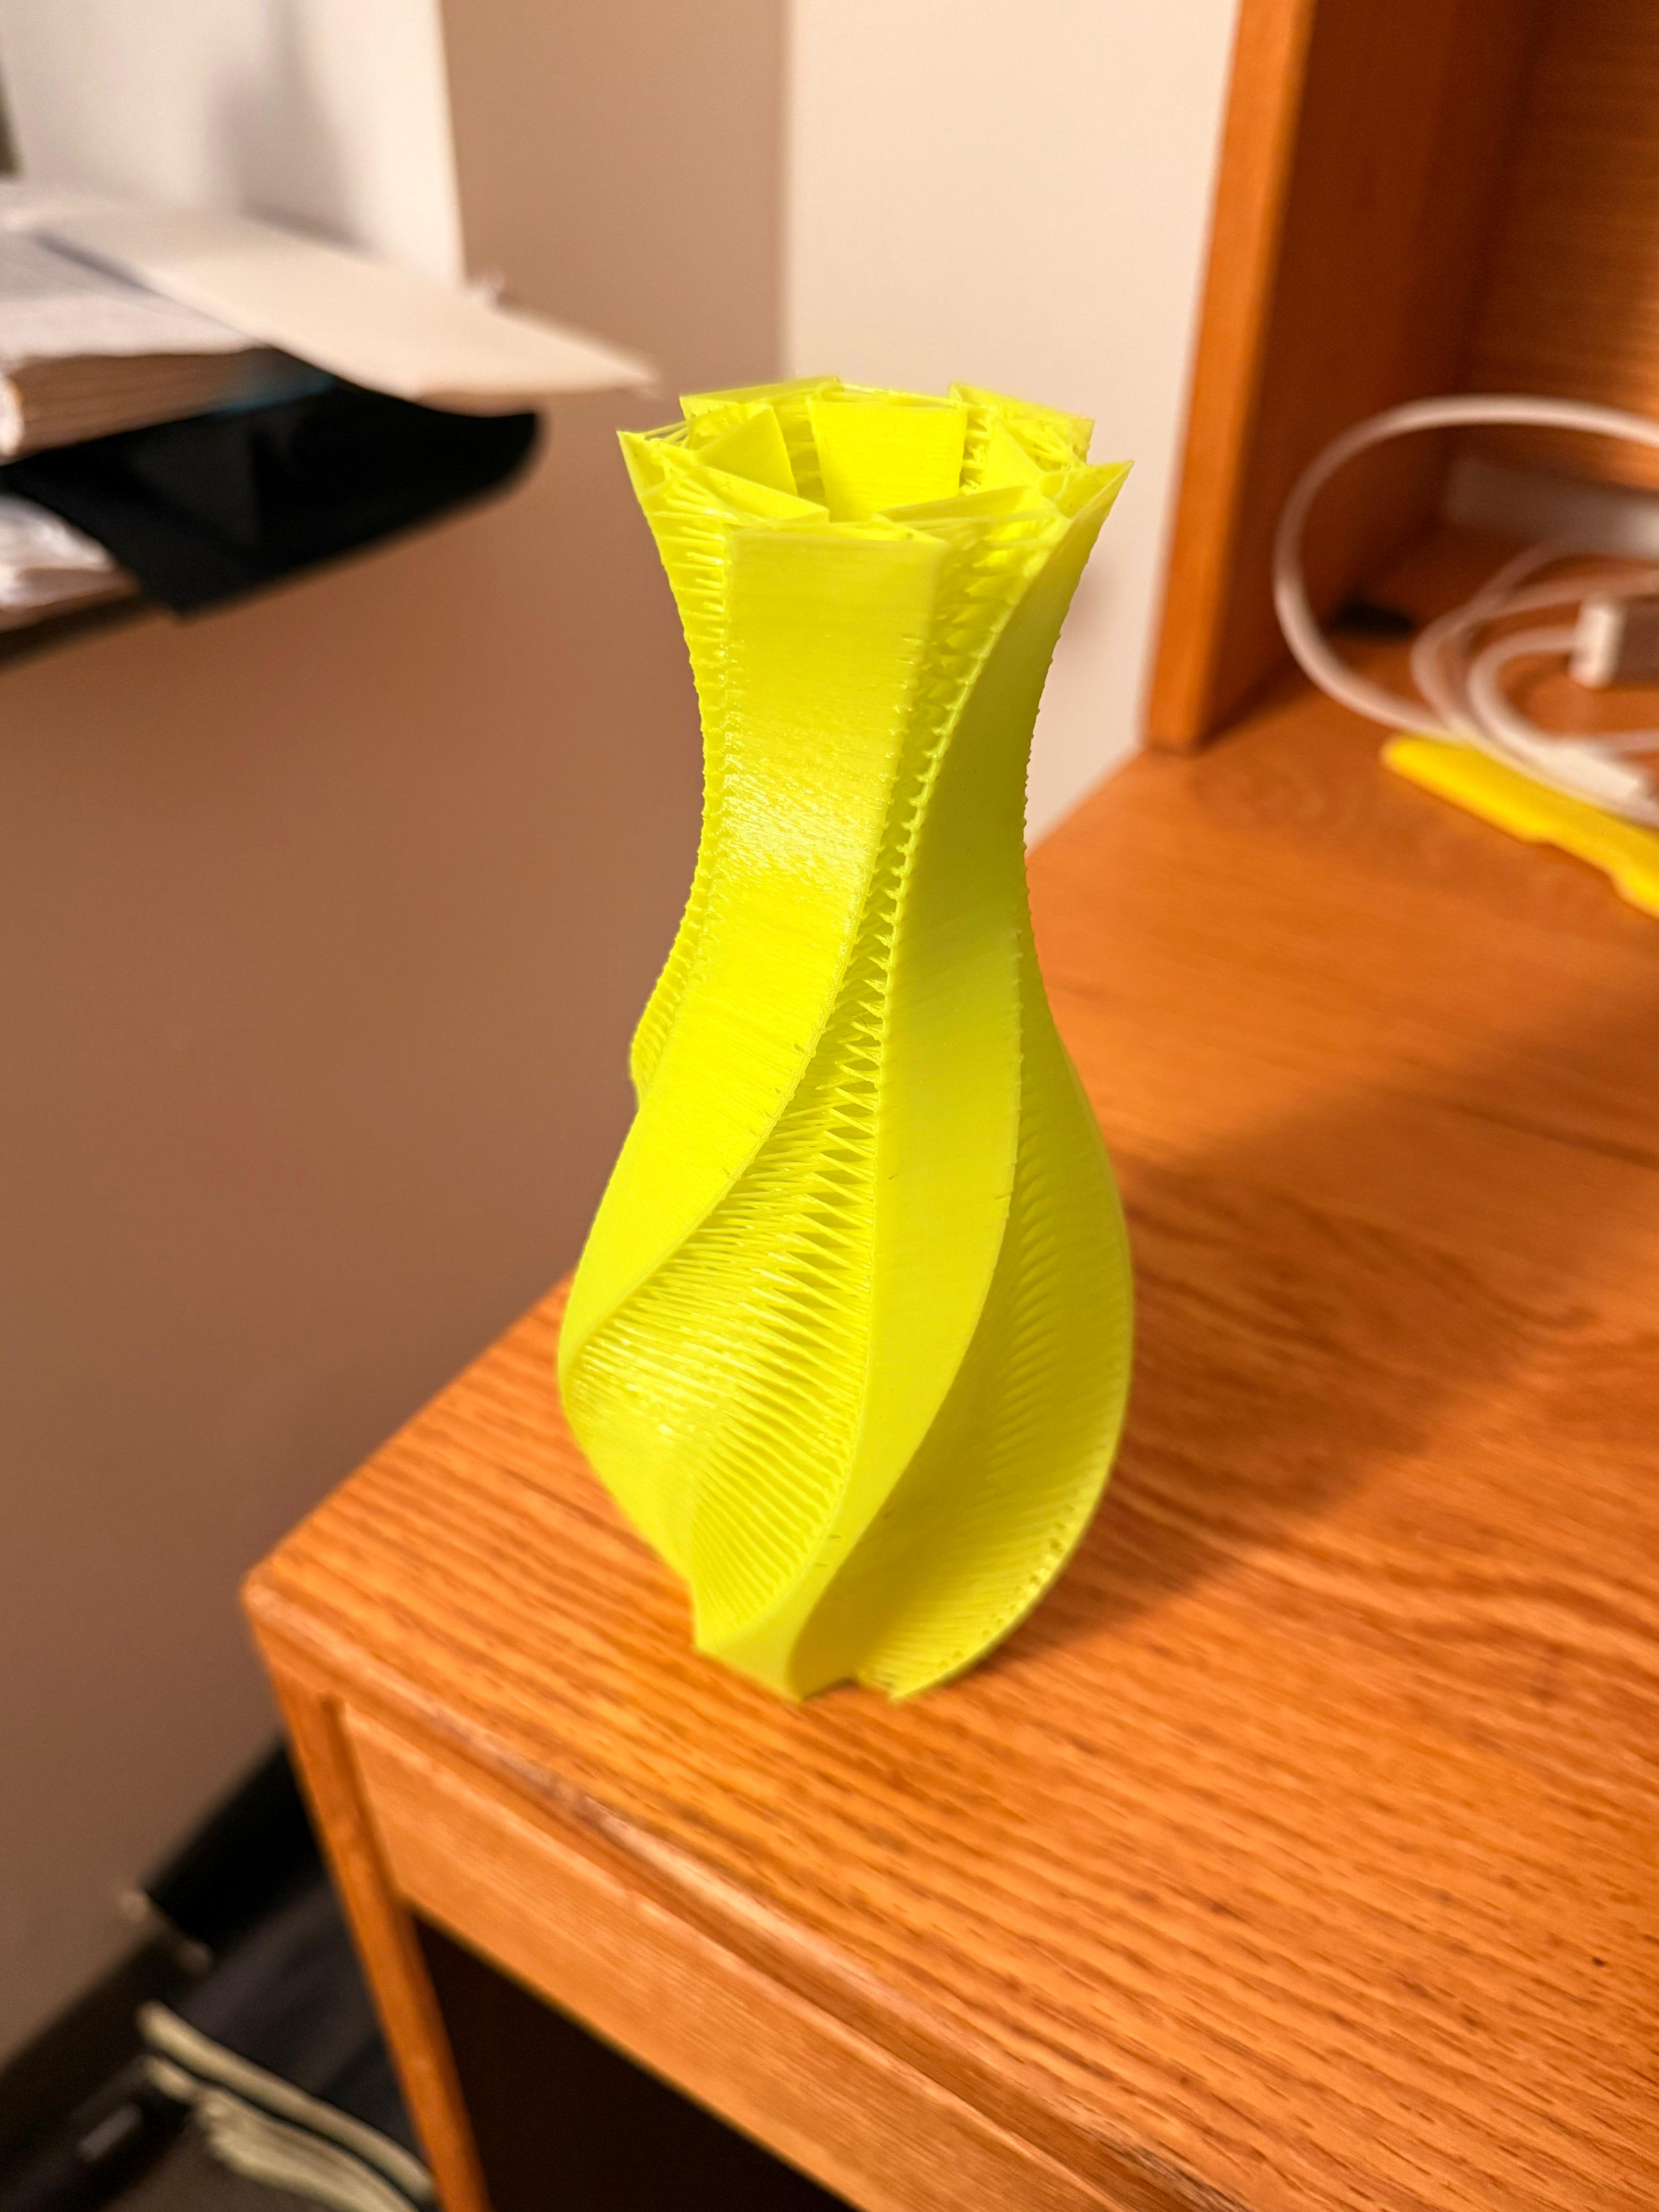
For the second print, I chose a twisted vase calibration model meant to stress continuous overhangs, thin walls, and smooth curvature. I imported it as an STL, meaning I had to set slicing values manually from scratch. I printed with 0.20 mm SPEED, Generic PLA, Input Shaper enabled, and supports off to intentionally push the limits.
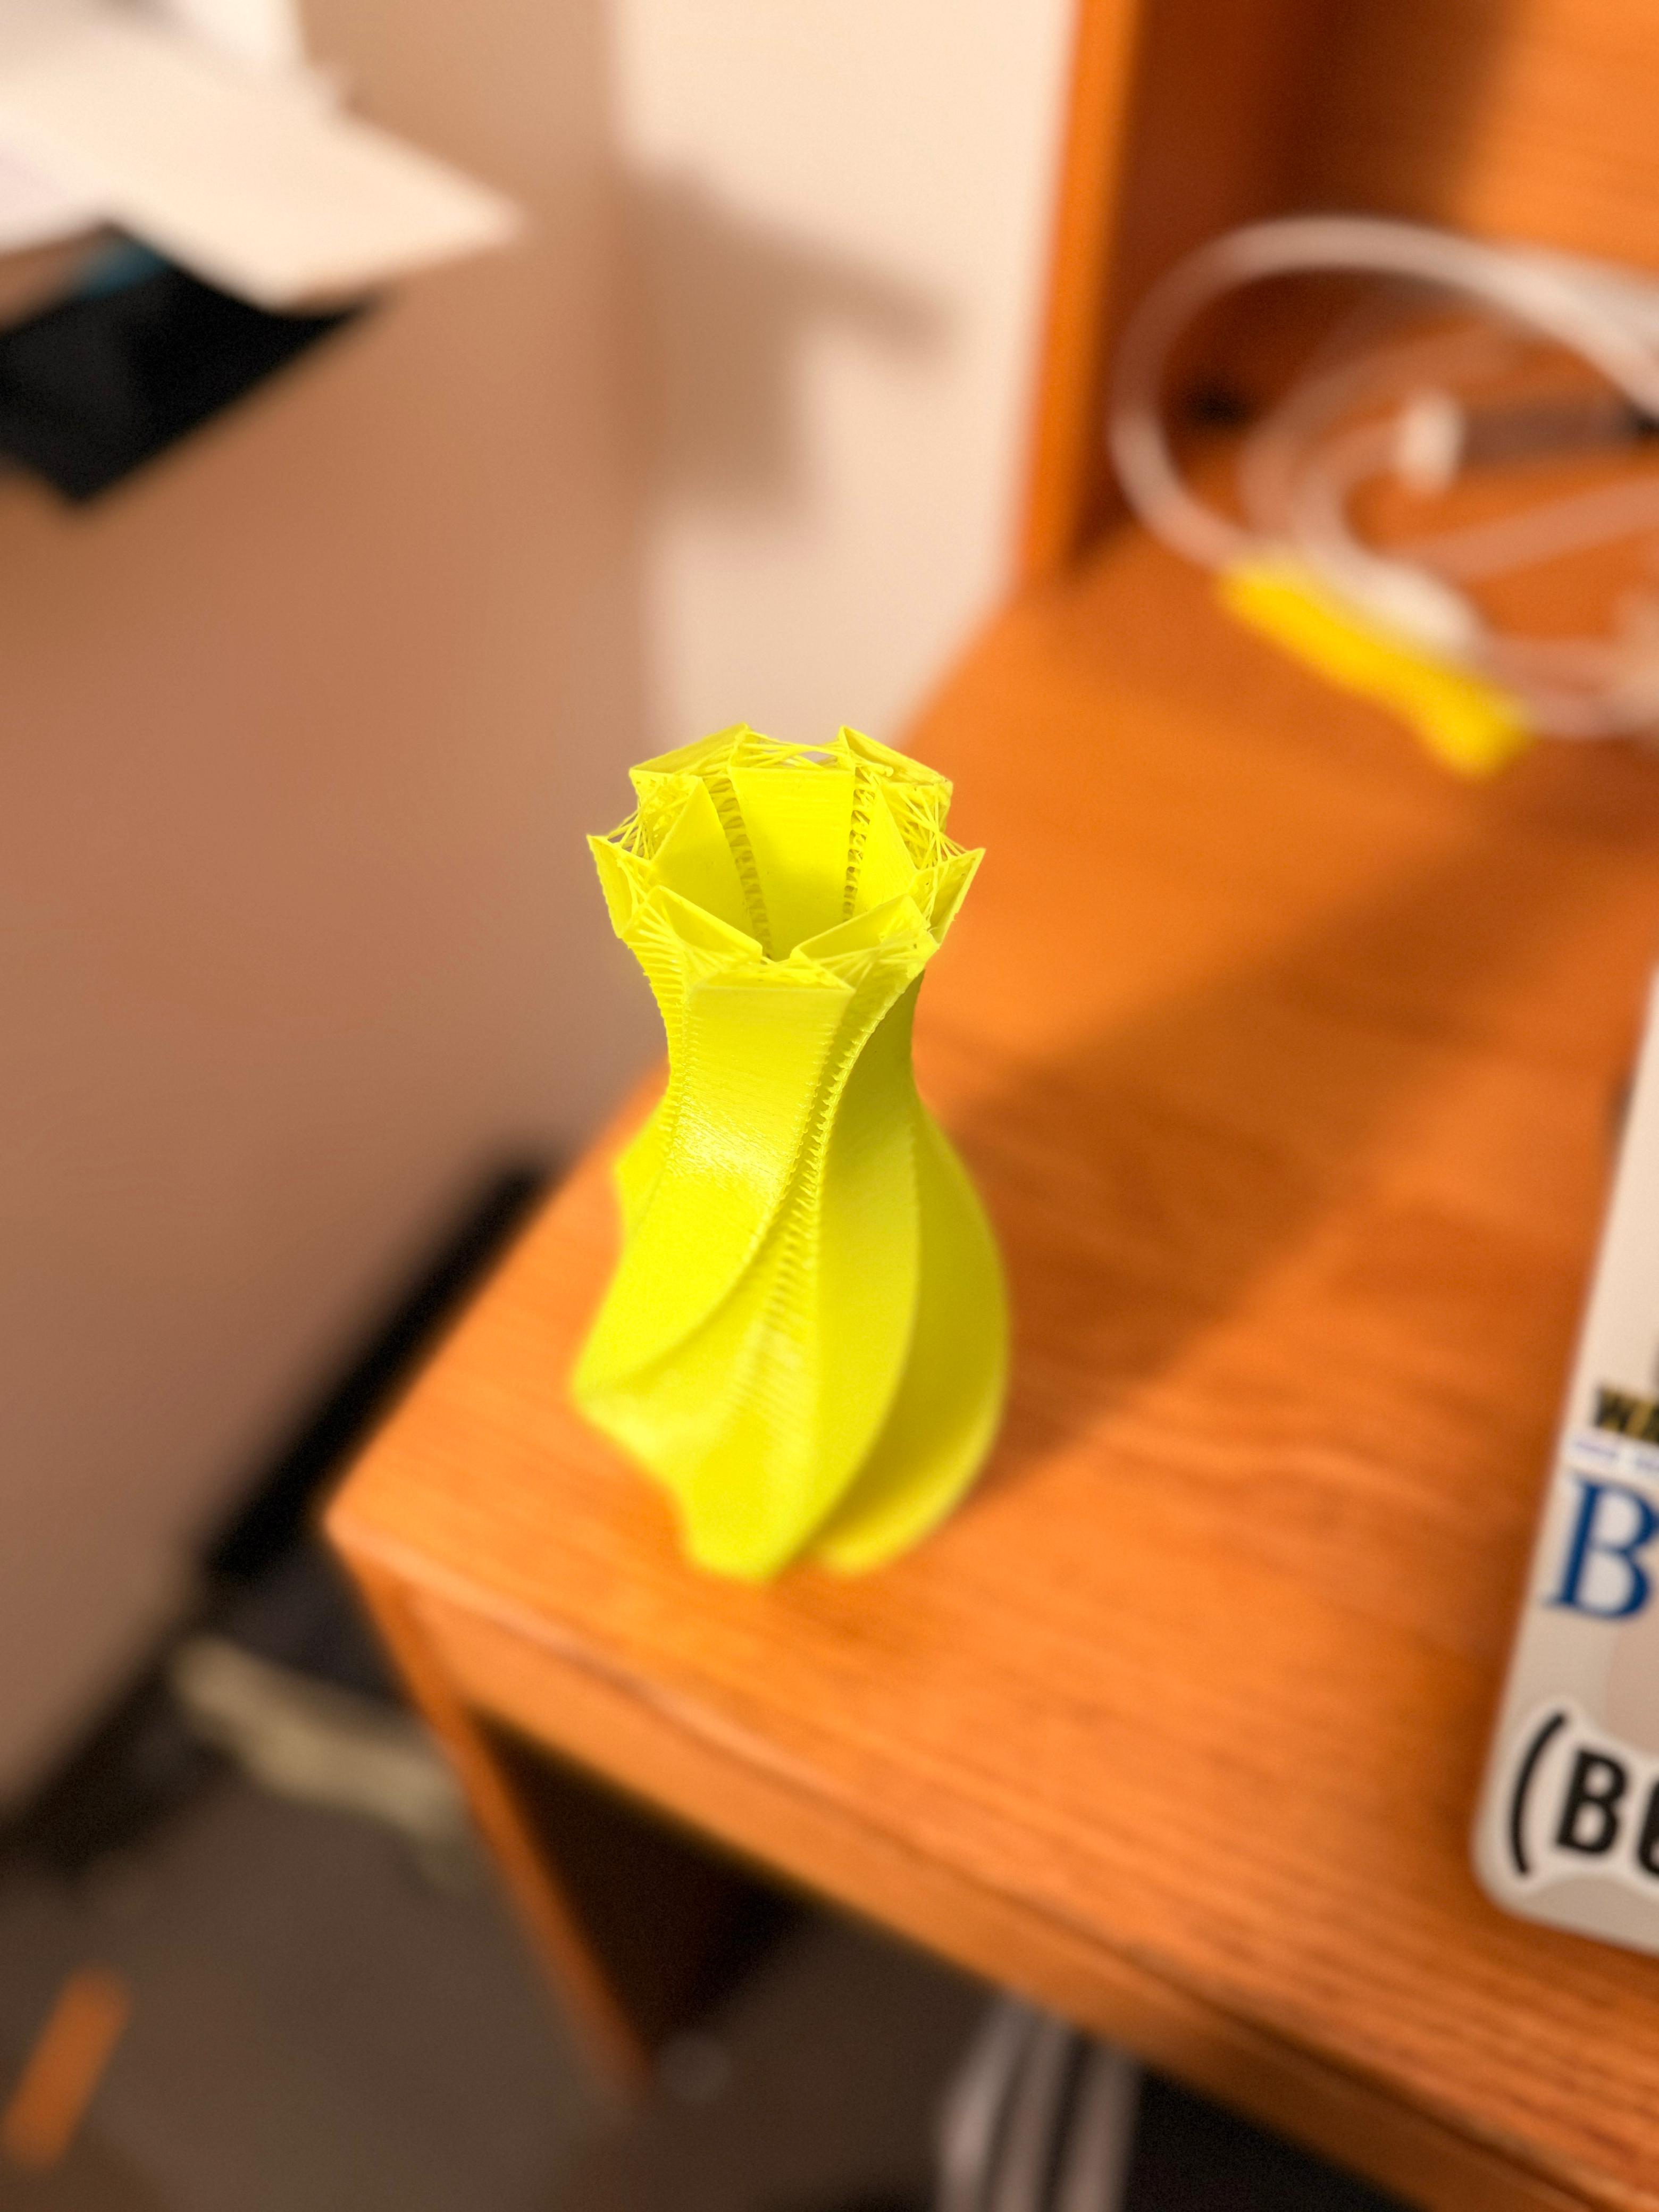
The vase printed cleanly through most of its height, showing consistent layer stacking and strong extrusion control. Minor artifacts appeared near steeper overhang transitions and close to the top opening, where curvature tightens and cooling becomes harder. This made the printer’s real limitations visible: unsupported angles and cooling performance eventually decide the cleanest result.
This print reinforced a key design lesson: successful models must respect overhang angles, wall thickness, and curvature flow. It also highlighted the difference between STL (geometry-only) versus 3MF (repeatable workflow settings).
Print 3 — Open-Source Assistive Device: Can Opener
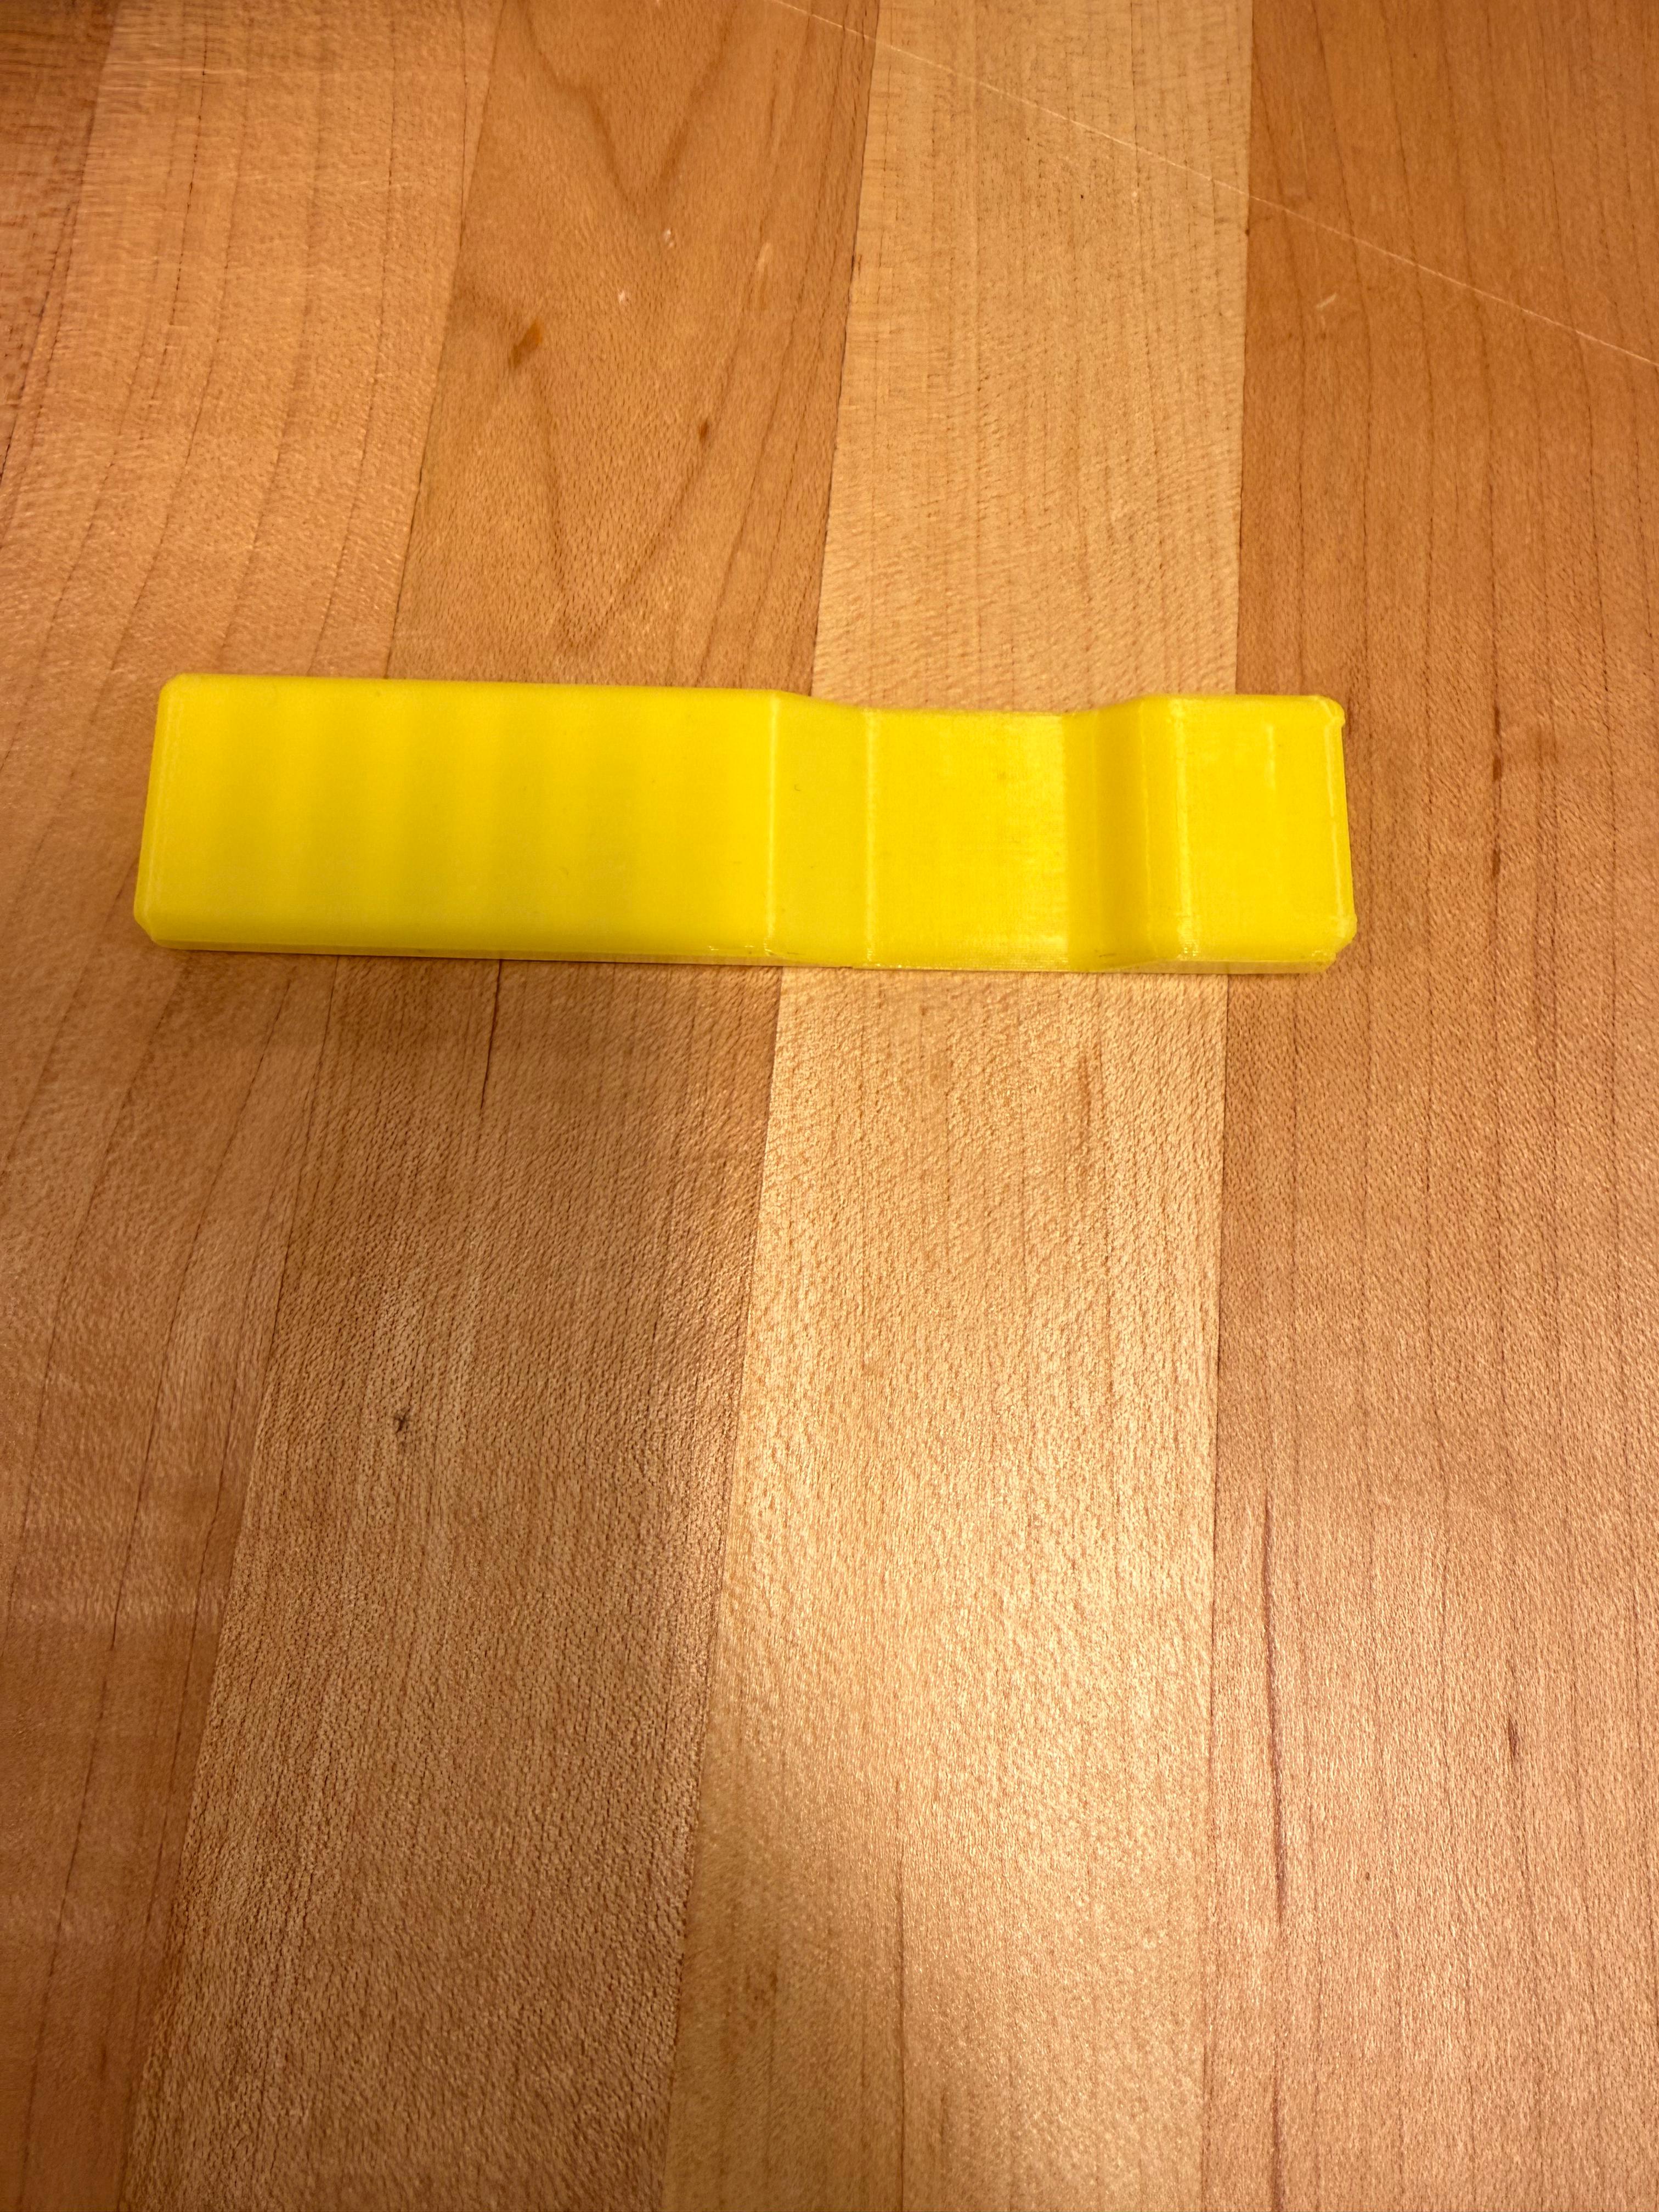
For my third print, I selected an open-source can opener from the Makers Making Change Assistive Device Catalog. This tool is designed to support people with limited grip strength, reduced hand mobility, or arthritis by increasing leverage and reducing the force needed to open everyday containers.
I downloaded the STL and sliced it in PrusaSlicer using an Original Prusa MINI+ with Input Shaper enabled, printing at 0.20 mm with no supports. The print finished successfully with strong layer adhesion and a rigid feel, making it suitable for real use.
When tested, the opener fit securely onto a can lid and noticeably improved leverage. The printed text and directional indicators came out clean, showing strong dimensional accuracy. The documentation was clear, but adding recommended materials and sizing tips could make the design even more accessible. Overall, this part connected fabrication to real impact: open-source printing can produce low-cost, customizable assistive tools locally.
Gallery
Key Settings
Printer: Original Prusa MINI+
Nozzle: 0.4mm
Profile: 0.20mm SPEED
Material: Generic PLA
Infill: 15%
What I Learned
• 3MF saves print instructions (pauses, settings) while STL is geometry-only
• Preview + layer slider helps verify toolpaths before wasting material
• Overhangs + cooling define quality on thin, curved designs
Next Improvements
• Slow down or increase cooling for steep overhang zones
• Try variable layer height for smoother curves
• Test temperature ranges for sharper edges